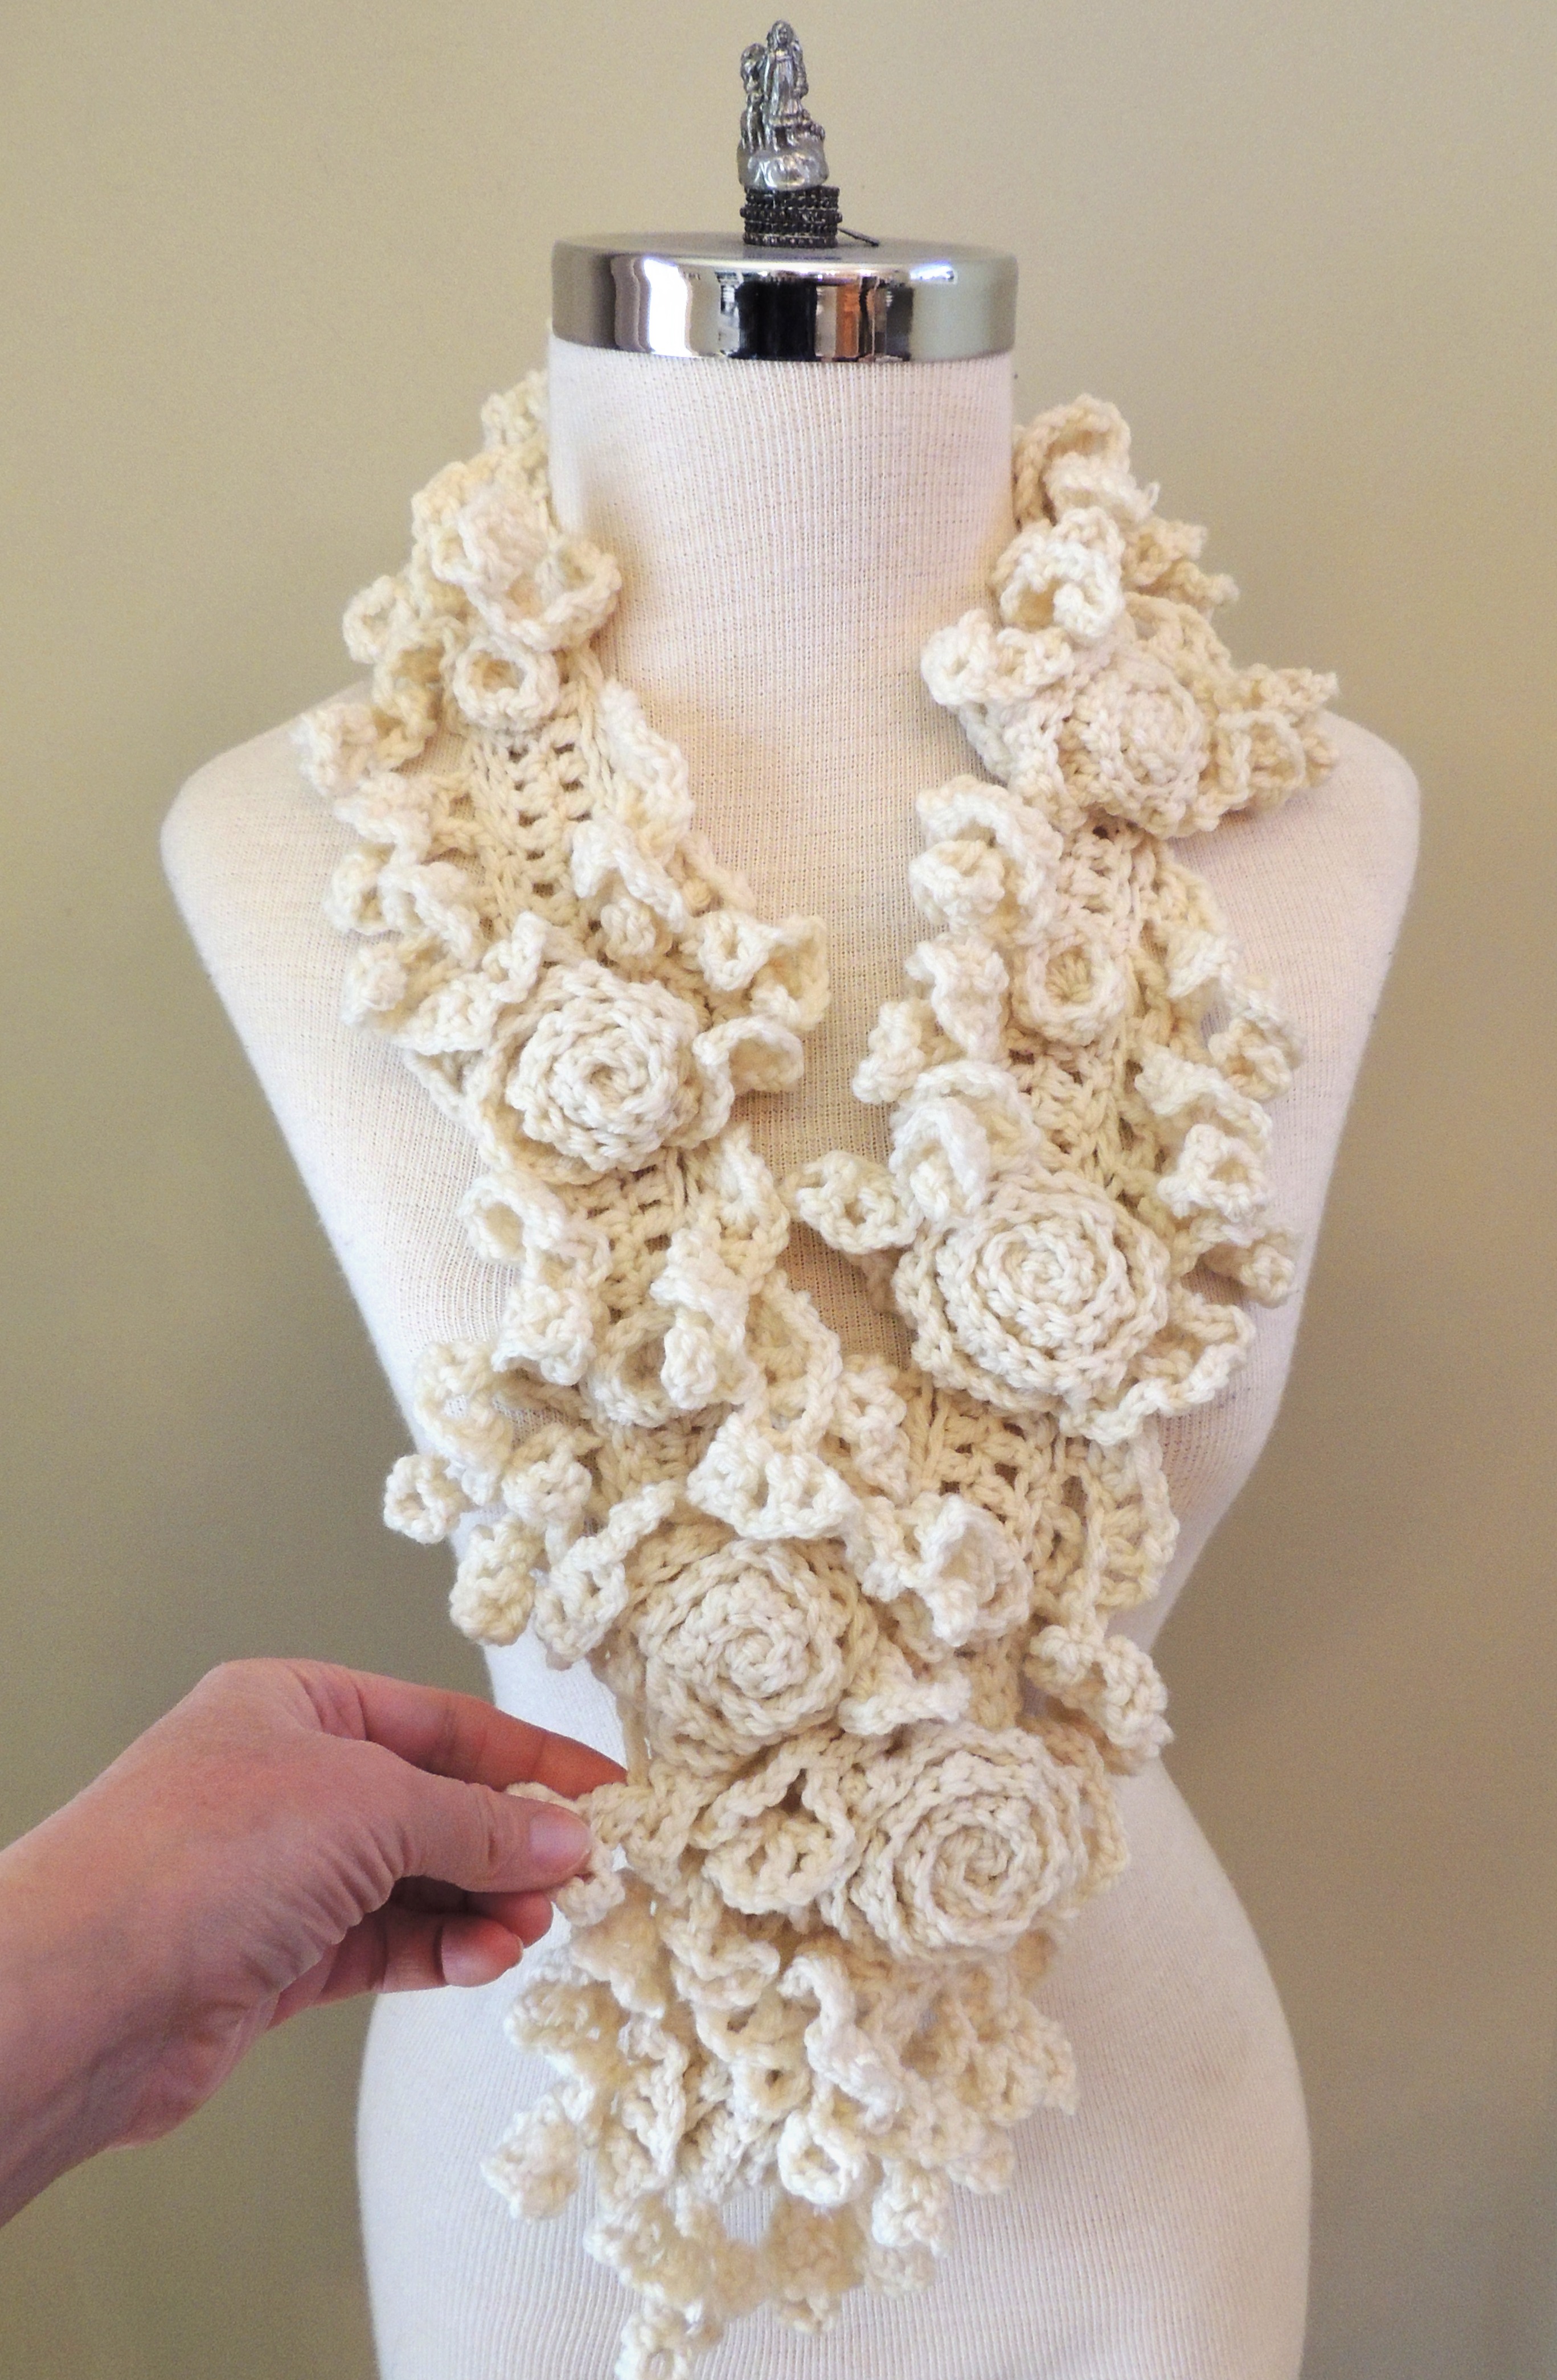
How to tie the Rose Onie scarf so it looks like my pictures. I have had various requests for instructions on how to tie the Rose Onie Scarf so it looks like my pictures. Here is how I do it. Instructions for each picture is below the picture.
1. Place the scarf about 4 inches longer on one side, I usually do it on the right side as shown in the first picture below.

2. Take one of the “leaves” from the inside of the left side and tie it to a “leaf” on the outside of the right side as shown here. I usually take the leaf that is first going up on the left side. This works the best for placement. I tie it in between the first two roses on the right side. See picture 3 to see the point where I tie the leaves at.

3. This shows where to tie the left inside leaf to the right outside leaf. I usually tie in a loose knot.
4. Now take two leaves from the inside edge of both sides and tie them approximately where shown in this picture. Again I tie in a loose knot.

5. This pictures shows where I tied them together so they stay in place. You don’t have to do this each time. Adjust where you tie it so the scarf can easily be taken on and off over your head. This way you don’t have to do it each time. A bit of practice and you will see how easy it is. Adjust the scarf and leaves so you like the look and you are finished. Enjoy wearing your new Rose Onie Scarf.

6. You can wear the Rose Onie Scarf in various ways, make new styles by tying the leaves where you want them to stay. Another example is this picture where I tied two leaves, one from each side at the centre after wrapping the scarf around twice. Any questions just send me an email at vbdesigns@shaw.ca


Leave a comment